How to paint a room in 10 simple steps

January is a time of change and one of the most common things we see at this time of year, is people undertaking DIY projects in the home. So with that in mind, our Painters and Decorators in Birmingham offer some simple tips on how to paint a room from start to finish. Read on to find out more!
City skyline
#1 Have A Plan
The first stage in any project is the planning the stage. Whether you have a small room to paint or a large room, the process is the same. Consider the following factors: how you want the room to look, are there items in the room that will need moving, what order will you paint in, will the room be out of action whilst you paint, or will others still be in and out. Answering these questions will help to get you started on the right foot.
#2 Measure Your Room
it is important to measure the square meterage of your room prior to painting, as this will help you to know how much paint to purchase. Most paint manufacturers will tell you on the back of the paint what the typical coverage is and this will let you know how much to buy. Just be wary that new plaster and rougher surfaces will likely require a little more paint.
#3 Select Your Paint
there are thousands of paints to choose from, so it is important to do your research to find out what type of paint you will need and what colour scheme will work best in your space. For example, are you wanting a matt finish or a shinier look? Are you painting over black mould? Having an idea of the paint you need will save you time when you go to the store and could also save money as you won’t be picking up things you don’t need.
#4 Purchase Your Tools
Many first time DIY’ers have no idea where to start when it comes to purchasing tools for their painting and decorating project. A good starting point for your shopping list is as follows: 3 inch brush, paint roller kit, roller sleeves, roller extension pole, dust sheets, fine grade sandpaper, stepladders, ready mixed filler, filling knife.
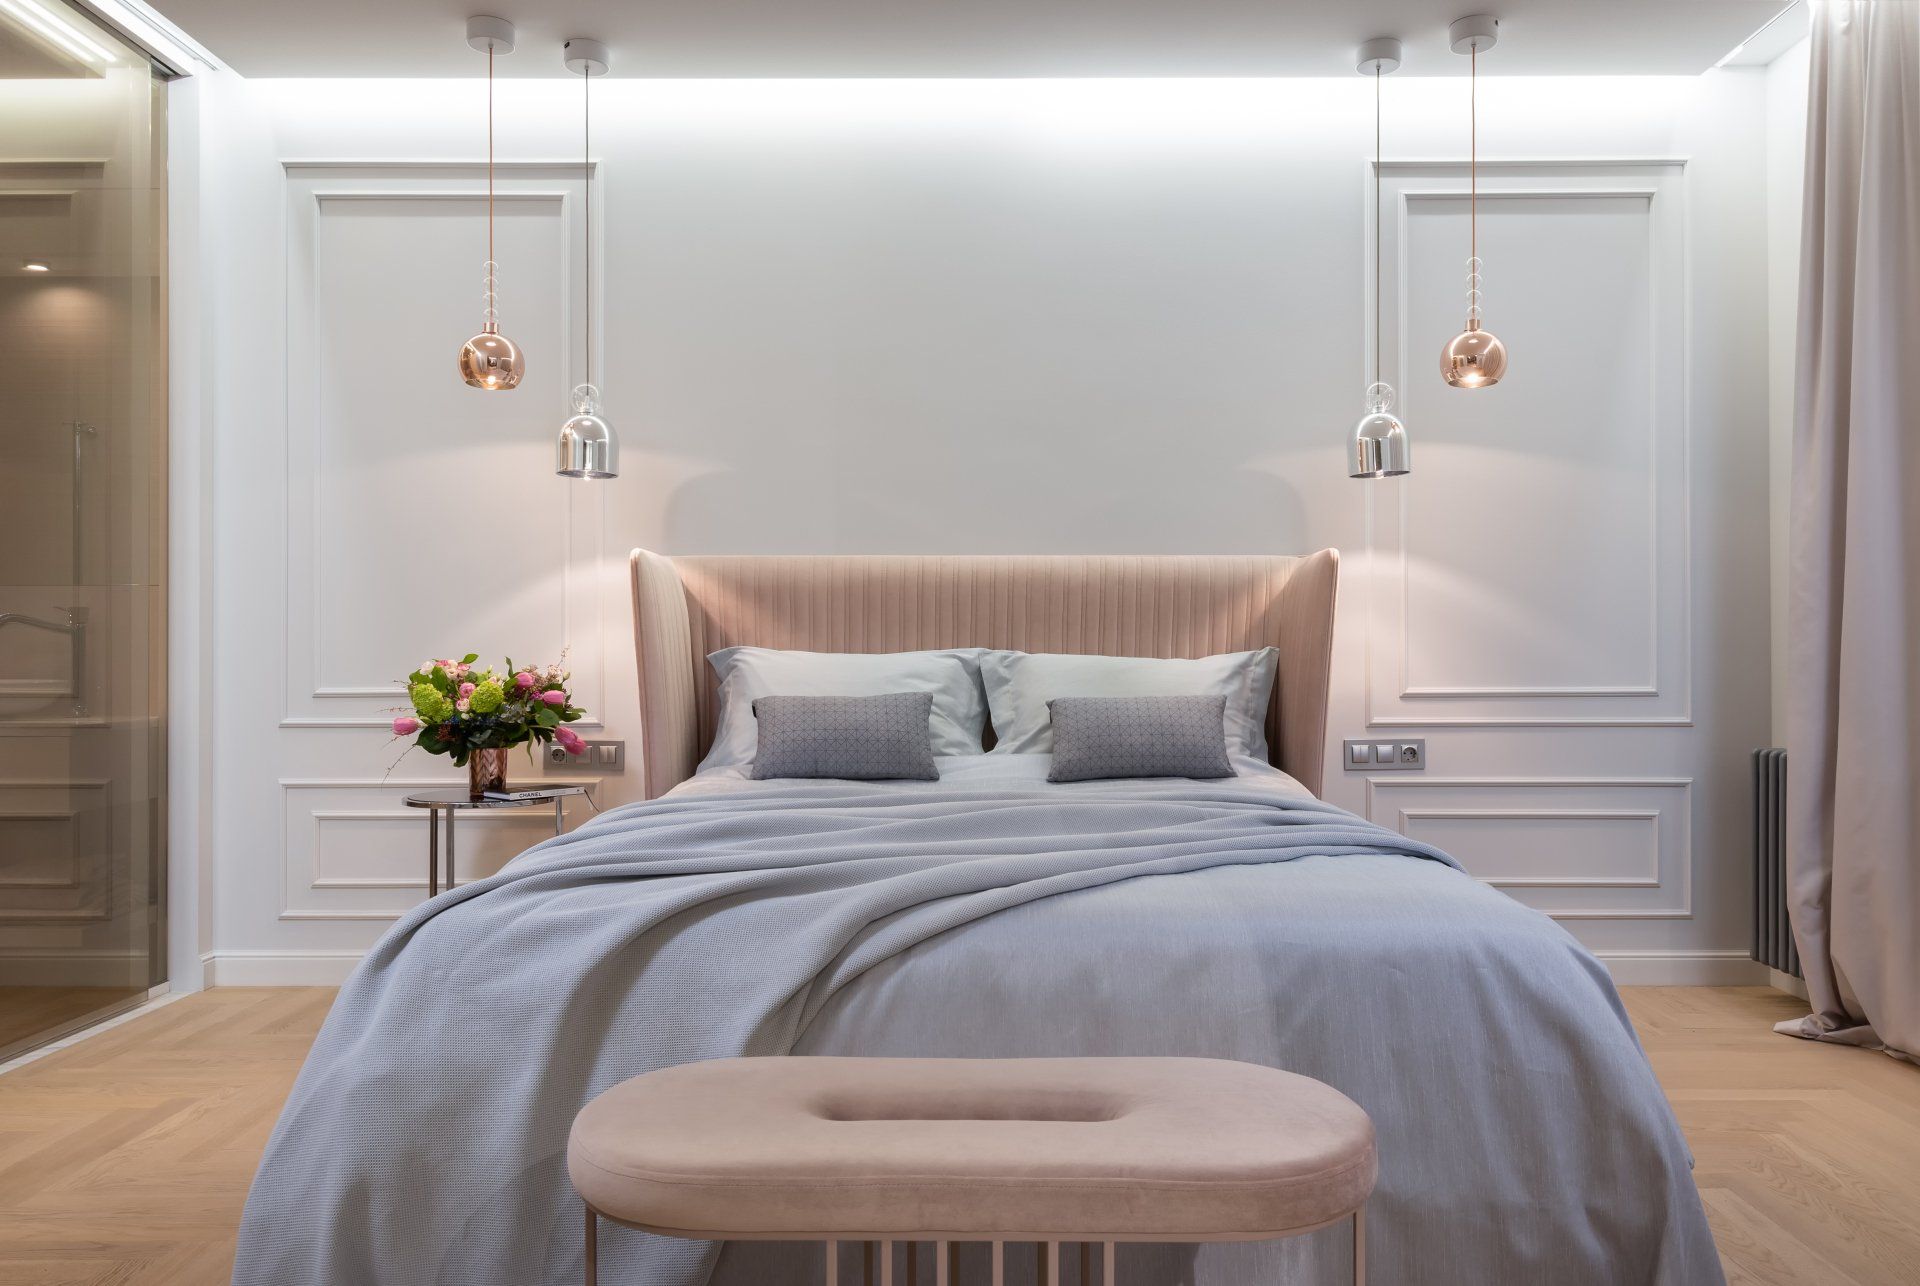
#5 Prep The Room
With all the previous steps in place, you should now be ready to make a start on the physical work. The first place to start is to prepare the room ready for painting. Move furniture to the middle of the room, lay down dust sheets to avoid spillages, remove wall accessories, curtains and curtain rails and safely unscrew socket covers. Fill any areas of damaged plaster and sand down uneven areas. Finally, give the walls a clean with sponge and sugar soap and remove any dust that has been created.
#6 Prep The Paint
The next stage is to start applying the paint, but before you do that, it is important to give the paint a stir, as it can settle over time in the tin. Use a flat headed screw driver to pop the lid off the paint and wooden stick to give it a good stir. If you are painting on to new plaster, then you may need to thin the paint with water to successfully apply a mist coat.
#7 Pick Your Order
We recommend to start with the ceilings and work down top to bottom on each wall. Start by using your 3-inch brush to carefully paint around the edges (‘cutting-in’), then fill in the middle areas using your roller and extension pole if necessary. When using your roller, we recommend applying the paint in a left to right ‘W’ pattern 1m2 at a time, working down the wall. If you are also painting the doors, frames and skirting boards, leave these until last.
#8 Respect Drying Times
Once your first coat is complete, it is important to wait around 2-4 hours before applying the subsequent coats (some paints may take less time to dry). Don’t be impatient, as painting on top of wet paint is pointless and as the roller will begin to remove the previous coat, leading to a patchy finish. Opening the doors and windows will help the paint to dry quicker and help to remove any paint smell from the area.
#9 Apply Multiple Coats
To achieve a great finish, you will likely need 2-3 even coats of paint. If you are transitioning from a dark shade to light, then you may need even more. The key here is to make sure you don’t try to overwork the paint. If it needs 3 coats, then so be it. Just make sure to allow more time for the job than you think you need.
#10 Clear Up
Once all the painting is finished, all that is left to do is to clear the space. Be careful moving things around as you don’t want to get any marks on your newly painted walls. Fold dust sheets carefully to avoid getting any dust and flakes of paint on the skirting boards. We recommend shaking them off outside and keeping stored for reuse on your next project!
Now you have finished, all that is left to do is to stand back and admire your work. If you have another room to decorate, simply repeat the process again! Of course you can save yourself all this hassle and call in the experts instead. Our professional
painters and decorators in Birmingham are experienced in all types of domestic painting and decorating and we can help to make your home renovation successful in 2023. Call us today to arrange a free quote!